The world’s largest collection of how to articles on IR modification & digital Infrared Photoshop video tutorials!
Infrared Photography Workshops
We offer workshops! One of the BEST ways to educate yourself and learn about infrared photography.
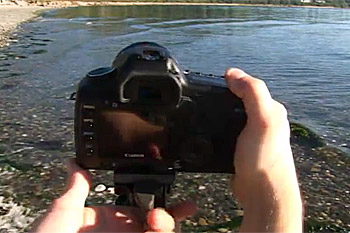
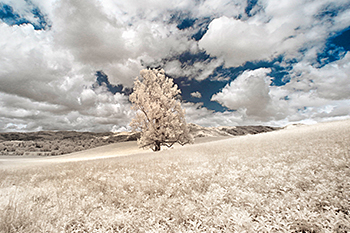
How to Shoot Infrared
A few videos showing how to shoot infrared that you may find interesting.
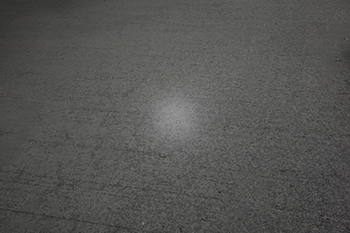
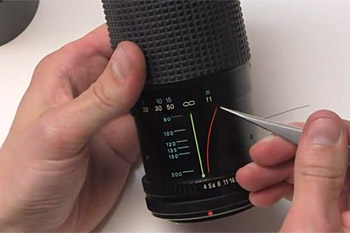
Lens Hot Spot Testing Database
A lens hot spot is the most common problem encountered when shooting infrared light. Here is some testing we have done with quite a few lenses.

Infrared Photoshop Video Tutorials
Our video tutorials on how to manipulate your infrared images in Photoshop to bring out their best.
Basic Pictorial Photoshop Tutorial
This is an older pictorial that covers the basics of processing infrared images in Photoshop, back from when it all started.
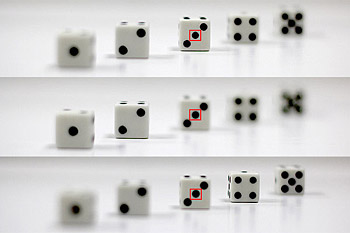
Infrared Photography Issues & Solutions
Short videos addressing common issues with cameras and infrared photography.
Quick Start Guide
We wrote this guide to help you become familiar with the main differences of shooting infrared light with a modified digital camera.
Designed to help you quickly get started in IR photography with your modified camera.
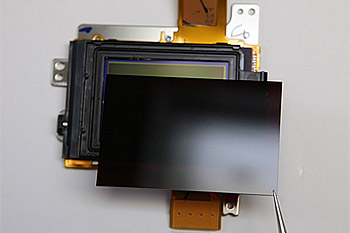
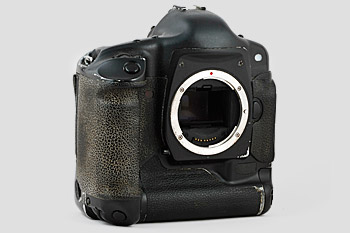
Infrared DIY IR Conversion Tutorials
The worlds most complete resource of do it yourself infrared camera modification tutorials.
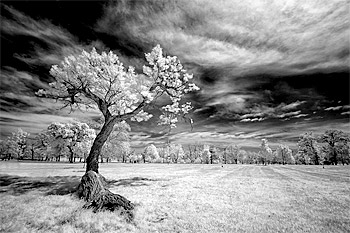
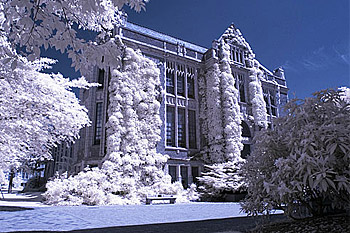
Infrared Photography Primer
Our take on the infrared photography story in detail, should hold everything you ever wanted to know about infrared photography.
Secondhand Cameras Guide
A guide to help you make smart decisions when buying secondhand converted cameras, the only one of it’s kind on the web.
Wall of Shame
Over the years we have pretty much seen it all as far as bad conversions go.
This is a small sampling of what we see come in from unsatisfied customers of other “conversion companies”.
